How to Replace a PVC Ball Valve?
Replacing a PVC ball valve is crucial for maintaining plumbing efficiency. A faulty valve can lead to leaks, which waste water and increase costs. Opting for a DIY replacement allows individuals to save money and gain hands-on experience. Proper maintenance of these valves also supports environmental sustainability by minimizing waste and promoting recycling. Essential tools include a wrench, pipe cutter, and Teflon tape, which facilitate the replacement process.
Key Takeaways
- Choose the right PVC ball valve by matching the size, pressure rating, and temperature limitations to your plumbing system for optimal performance.
- Always turn off the water supply before starting the replacement process to prevent leaks and water damage during installation.
- Test for leaks after installation by applying pressure and checking for moisture around the valve to ensure a secure and effective connection.
Preparation for PVC Ball Valve Replacement
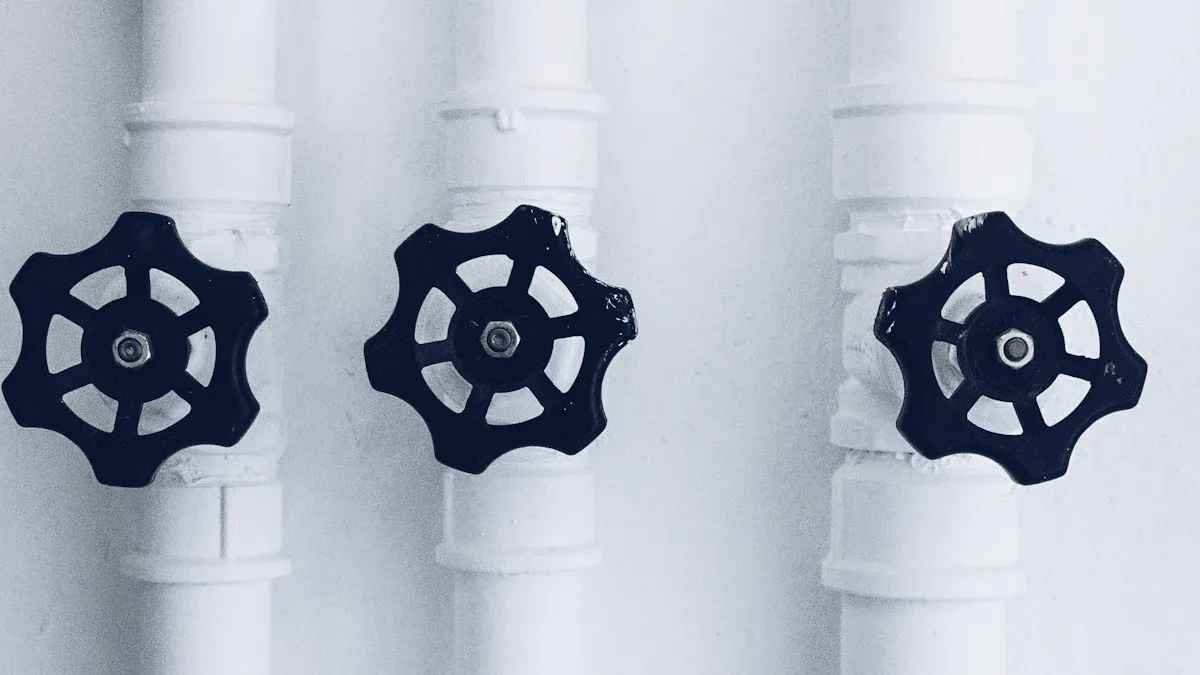
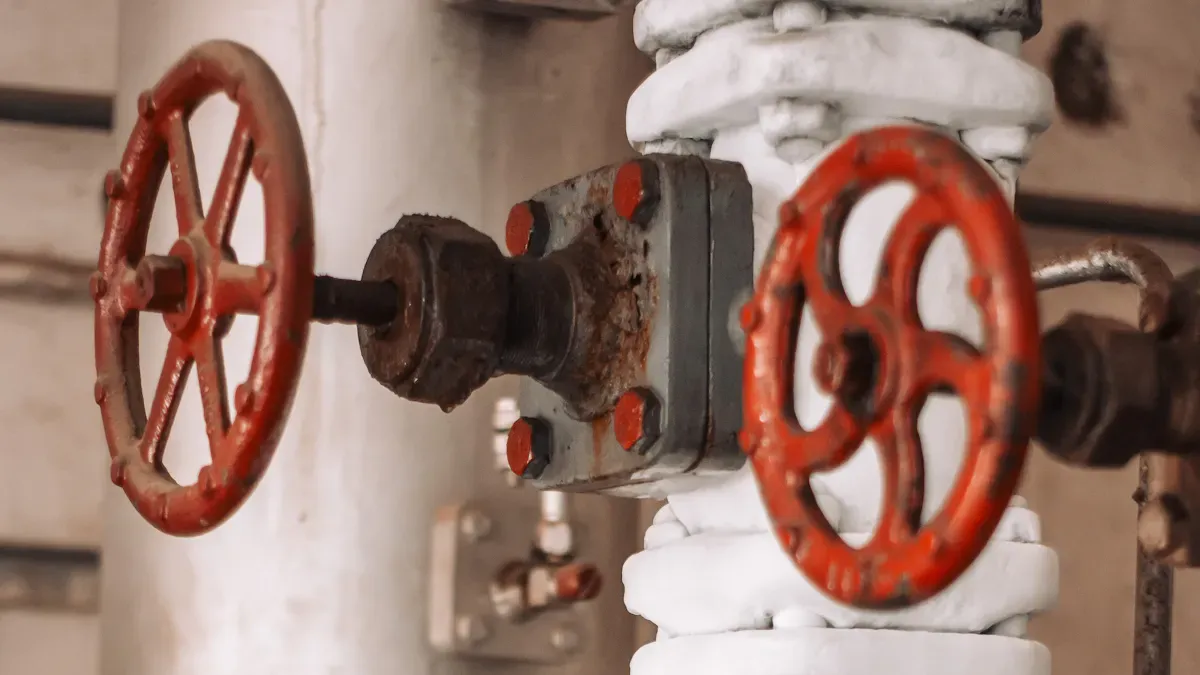
Choosing the right PVC ball valve
Selecting the appropriate PVC ball valve is vital for ensuring optimal performance in residential plumbing systems. Several key factors should guide this decision:
- Size: The valve size must match the pipe diameter. This alignment prevents flow issues and ensures efficient operation.
- Pressure Rating: The valve should be capable of handling the system’s pressure. Understanding the pressure rating helps avoid potential failures.
- Temperature Limitations: Knowing the operating temperature range of the valve material is essential. This knowledge prevents performance issues in extreme conditions.
- Material Compatibility: Ensure that the valve is compatible with PVC-U products. This compatibility enhances the longevity and reliability of the plumbing system.
- Installation Practices: Following proper installation practices is crucial for achieving a secure and leak-free connection.
It is important to verify that the PVC valves meet industry standards, particularly regarding pressure ratings. The Plastic Pipe and Fitting Association emphasizes that the pressure rating significantly impacts system performance and safety. Always check the manufacturer’s datasheet to confirm the pressure rating.
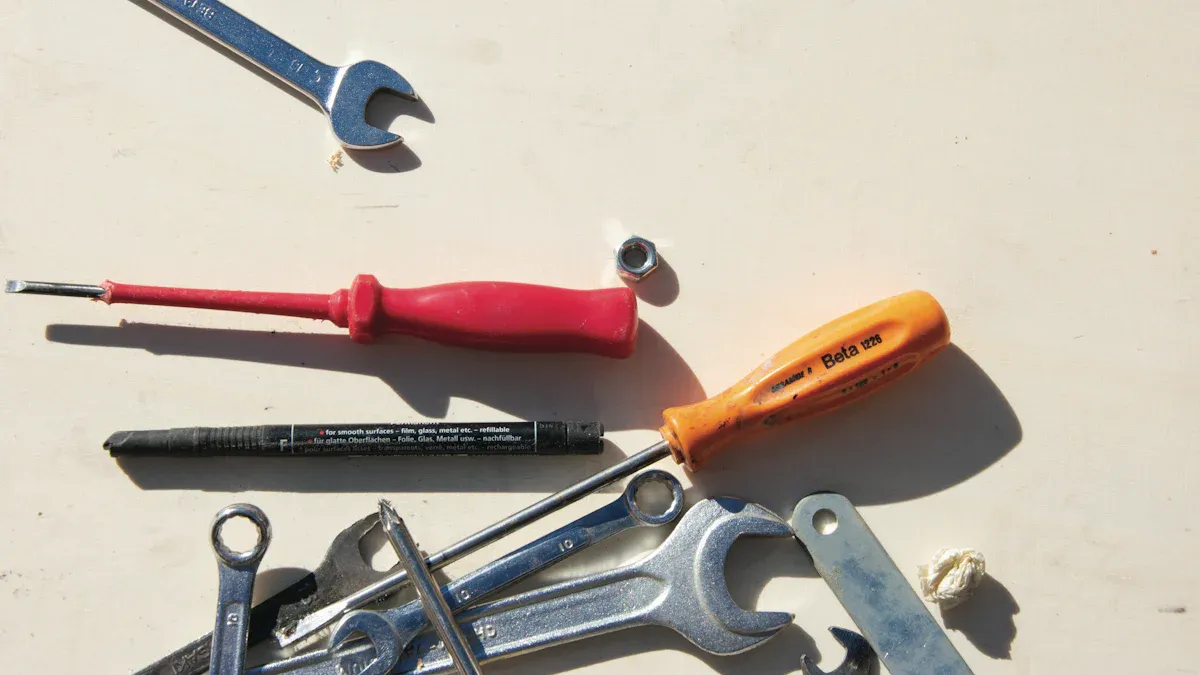
Essential tools for the job
Having the right tools on hand simplifies the replacement process. Here is a list of essential tools needed for replacing a PVC ball valve:
- Adjustable wrench
- Pipe cutter
- Pipe cleaning tool or sandpaper
- Deburring tool
- Plumber’s tape (Teflon tape)
- Propane torch (for soldered connections)
- Solder (for soldered connections)
In addition to these tools, safety equipment is also crucial. The following table outlines recommended safety gear and its purpose:
| Safety Equipment | Purpose |
|---|---|
| Safety glasses or goggles | Protects eyes from flying debris and chemical splashes during cementing. |
| Cut-resistant gloves | Offers protection against cuts when cutting PVC pipe. |
| Solvent-proof gloves | Prevents skin irritation from chemical exposure during cementing. |
| Respirator | Protects lungs from fine PVC dust and solvent vapors. |
Always wear gloves and safety goggles when handling PVC valves to protect against harmful substances and sharp edges. Proper preparation ensures a smoother replacement process and enhances safety.
Step-by-step Replacement Process for PVC Ball Valve
Turning off the water supply
Before starting the replacement process, it is essential to turn off the water supply. This step prevents water from flowing during the replacement, which could lead to leaks and water damage. Follow these steps to ensure the water supply is completely shut off:
- Locate the main water shut-off valve for the property or a specific zone valve if available.
- Turn off the valve to stop the water supply.
- Open a nearby faucet to drain any residual water from the pipes.
- Verify that the water flow has ceased entirely to confirm the system is depressurized.
Failing to shut off the water supply can result in potential leaks, leading to water damage and complications from valve failure, especially if the existing valve is old or corroded.
Accessing the pipes
Once the water supply is off, the next step involves accessing the pipes where the PVC ball valve is located. Proper precautions are necessary to avoid damaging surrounding pipes or fixtures. Consider the following:
- Wear proper protective gear, including gloves, safety goggles, sturdy footwear, and masks to protect against hazards.
- Ensure you have the appropriate tools for the job to avoid damaging pipes or fixtures.
- Work with a partner or seek professional help to prevent accidents and ensure the job is done correctly.
Removing the old valve
With the area accessible, the next step is to remove the old PVC ball valve. This process requires careful handling to avoid causing damage to the pipes. Follow these steps:
- Loosen the valve connections: This is crucial to prevent strain on the pipes during removal.
- Disconnect the valve from the pipe: Depending on the type of connection (threaded, soldered, or glued), use appropriate methods to detach the valve carefully.
- Inspect and clean the pipe ends: After removal, check for any damage and clean the area to ensure a proper fit for the new valve.
Installing the new valve
After removing the old valve, it is time to install the new PVC ball valve. Proper installation ensures a secure fit and prevents leaks. Follow these steps:
- Shut Off Water Supply: Confirm that the main shut-off valve is off to prevent leaks during installation.
- Measure and Cut Pipe: Use a measuring tape to determine the length needed and cut the pipe with appropriate tools.
- Clean and Prepare Pipe Ends: Clean the ends of the pipes using chemical and mechanical methods to ensure a secure bond.
- Apply PVC Primer and Cement: Apply primer and cement to the pipe and valve socket, then insert and twist the pipe into the valve.
- Install the PVC Ball Valve: Position the valve correctly in the plumbing system and ensure proper alignment.
- Allow to Cure: Let the cement cure as per the manufacturer’s guidelines before proceeding.
- Turn On Water Supply: Gradually turn on the water supply and check for leaks.
Testing for leaks
After installation, testing for leaks is crucial to ensure the new PVC ball valve functions correctly. Follow these steps to test for leaks:
- Wait for the solvent cement to fully cure, typically 24 hours, as per the manufacturer’s instructions.
- Ensure the test pressure is about 1.5 times the system’s working pressure, without exceeding the lowest-rated component’s pressure.
- Pressure test against a closed ball valve, ensuring the handle is turned a full 90 degrees to the closed position.
- Introduce the test pressure slowly to prevent sudden shock.
Common indicators of a faulty installation include visible signs of wear or damage, intolerance to leakages, and fluid escaping through the valve when it’s fully closed. Inspect the valve seat for leaks when closed, as this may indicate damage.
Troubleshooting Common Issues with PVC Ball Valves
Dealing with leaks
Leaks often occur in newly installed PVC ball valves due to several factors. Common causes include inadequate support during installation, improper practices, and insufficient pipe support. To address leaks effectively, follow these steps:
- Initial visual inspection: Check for moisture or drips around the valve.
- Inspect stem and handle: Tighten the packing nut and replace seals if leaks persist.
- Examine body and connections: Retighten bolts and apply thread sealant if necessary.
- Check internal components: Look for damaged parts and clean out obstructions.
- Assess environmental factors: Ensure materials are compatible with the media.
- Conduct pressure testing: Test under pressure to confirm leaks are resolved.
| Leak Location | Common Cause | How to Fix It |
|---|---|---|
| Around the Handle/Stem | Loose packing nut or worn O-rings. | Tighten the packing nut or replace O-rings. |
| At the Union Nuts | Loose nut or damaged O-ring. | Clean and re-tighten the nut securely. |
| Crack in the Valve Body | Overtightening or impact damage. | Replace the valve body if cracked. |
Ensuring proper valve alignment
Proper alignment of PVC ball valves is crucial for optimal performance. Misalignment can lead to fluid flow disruptions, increased energy usage, and even hydraulic leaks. To ensure correct alignment, consider the following:
- Ensure pipes are properly aligned and supported to prevent bending or twisting forces on the valve.
- Provide adequate support to prevent sagging, which can strain the valve during thermal expansion and contraction.
- Position the PVC ball valve correctly in the plumbing system for easy access and operation.
Regular maintenance checks can help identify signs of misalignment early, preventing costly repairs.
Addressing pressure issues
Pressure problems can arise in PVC ball valves, especially in residential plumbing systems. PVC ball valves typically have lower pressure ratings, ranging from 150 to 230 PSI. Exceeding these limits can lead to stress on the valve body and potential leaks. To address pressure issues:
- Examine the valve limit to ascertain if the spillage can be addressed by modifying the limit.
- Slowly apply a lubricant to stop the leak and monitor the pressure gauge.
- Clean the sealing surfaces if leakage occurs due to damage.
Avoid disturbing newly cemented connections during the curing period. Gradually restore water pressure to minimize strain on new connections. Regular maintenance of the PVC ball valve ensures longevity and reliable performance.
Replacing a PVC ball valve enhances plumbing efficiency and reduces maintenance costs. This DIY project empowers homeowners to take control of their plumbing systems. Remember to avoid common mistakes, such as misusing Teflon tape and ignoring local plumbing codes. If challenges arise, seeking professional assistance ensures a reliable solution.
FAQ
What tools do I need to replace a PVC ball valve?
You need an adjustable wrench, pipe cutter, Teflon tape, and safety gear like gloves and goggles.
How long does it take to replace a PVC ball valve?
Typically, replacing a PVC ball valve takes about 1 to 2 hours, depending on experience and complexity.
Can I replace a PVC ball valve without professional help?
Yes, homeowners can replace a PVC ball valve as a DIY project, provided they follow proper procedures and safety guidelines.